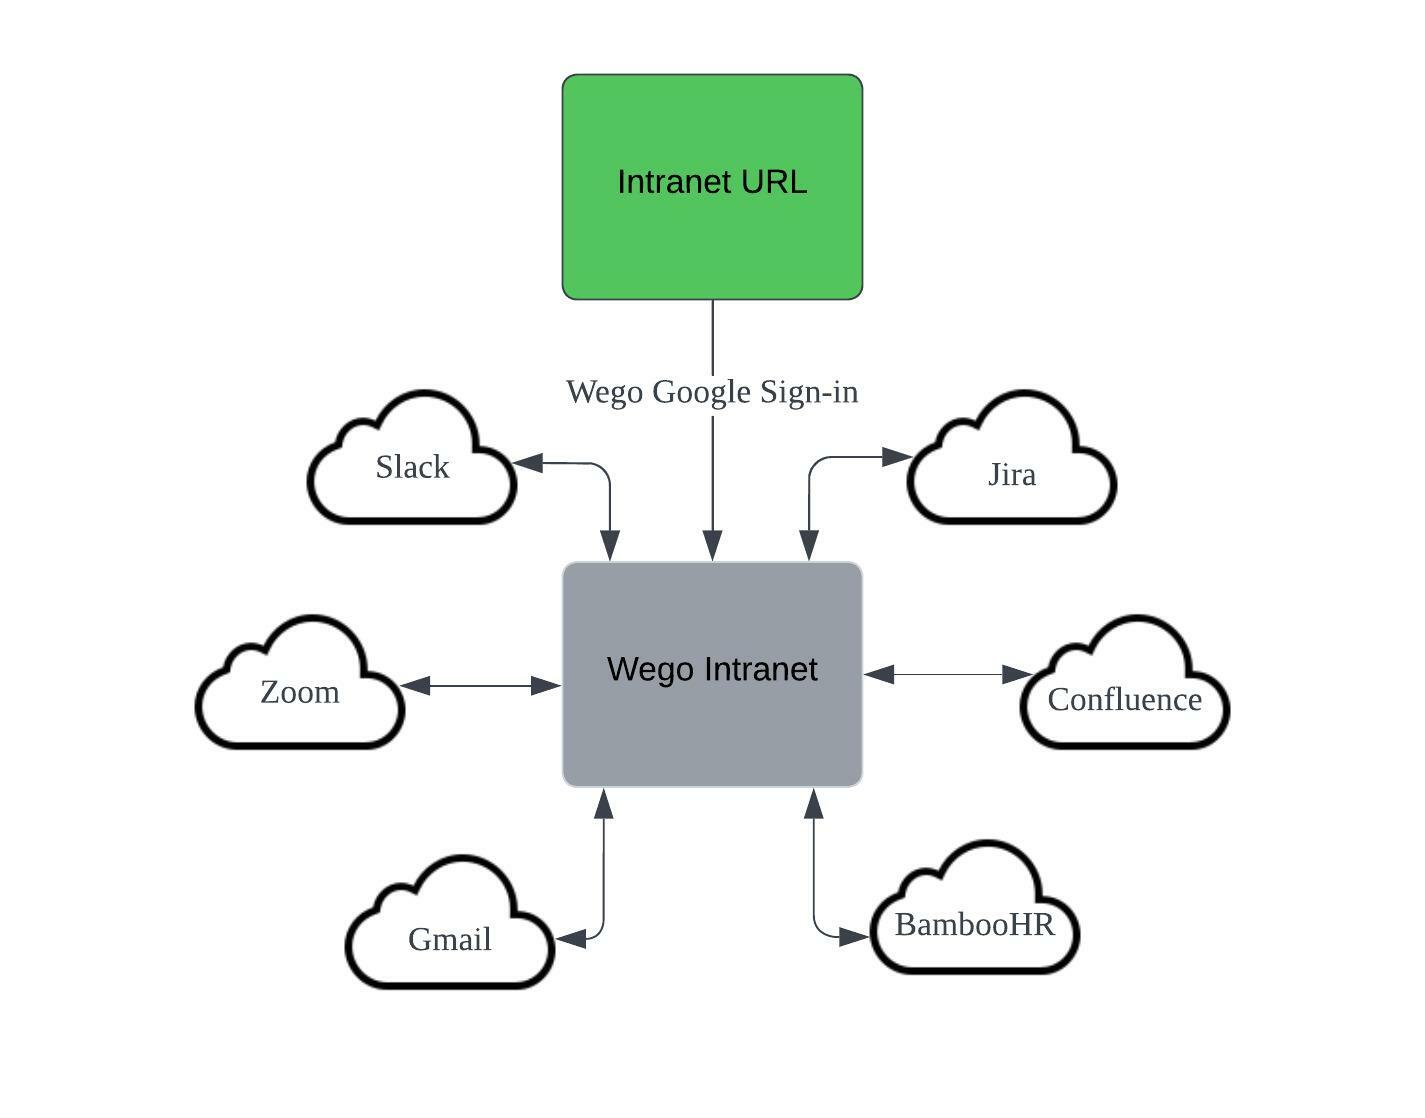
The main objectives here are to have an additional layer of security in Wego and also make every Wegonaut's life easier for searching for the tools needed in their day-to-day job, especially for new hires as one of the challenges that new employees encounter is understanding the tools used in the company and their functionality.
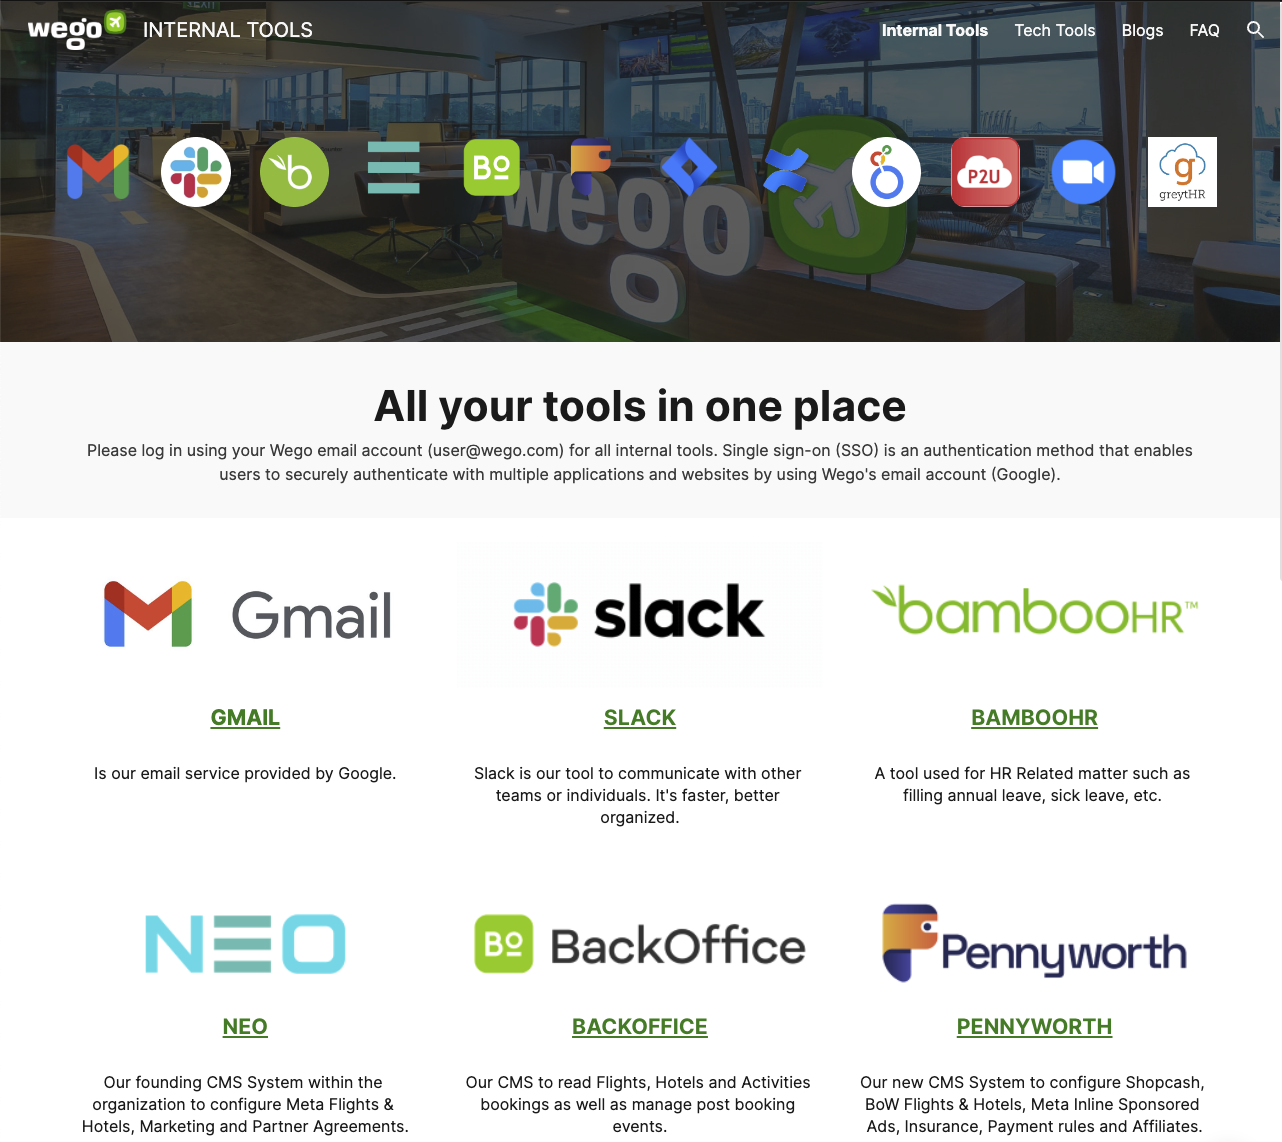
Phase 1: Idea
At Wego, we've noticed that we're having frequent slack discussions about how internal tools work, what's the URL and how to access the systems. The initial solution was to create a subdomain and redirect it to the actual URL so that it's easier to remember. Still, in the long run, this is not helpful so we've decided why not create an intranet for the organization that will have all the requirements needed.
Phase 2: Challenges
One of the challenges is limiting it to Wego organization only for security reasons and can also be managed even by non-technical people for future requirements. Another challenge is whether there's any cost involved in bringing it to reality.
Phase 3: Research and Benefits
Upon doing some research, we ended up choosing Google Sites. At Wego, we heavily use Google services so we're already comfortable with their technology.
a. Free to use - Google Sites is entirely free to use, and all you need to access it is a Google account. It also includes unlimited storage and the option of adding up to five custom URLs to your website.
b. Integrated with other Google Products - You would see that Google sites are integrated with many Google products so this helps us a lot as we're already using most of their products like Google Drive, Google Apps, etc.
Phase 4: Setup, Configuration, and Implementation
Make sure you log in to your Google account and follow the below steps.
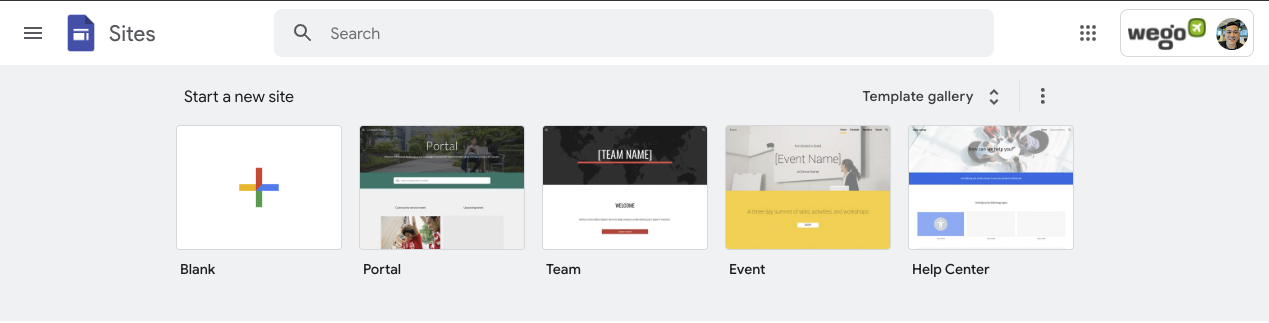
Create & name a Google site
1. On a computer, go to sites.google.com
2. At the top, under "Start a new site," select a template or choose a blank template if you want to do it from scratch.
3. At the top left, enter the name of your site and press Enter.
4. Once the first 3 steps are done, you can start to add content to your site and design as well.
5. After all the changes, make sure to click Publish in order to see the changes. Alternatively, you can choose the preview option to check what it looks like before implementing it.
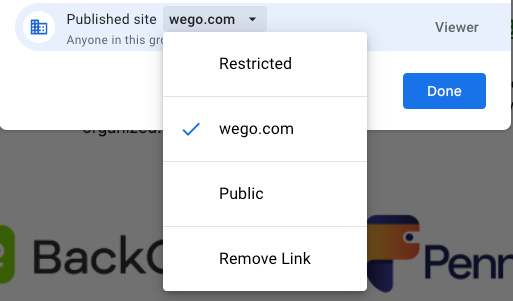
6. Restricting the site within the domain you own is important to make sure no one outside your organization can access the page.
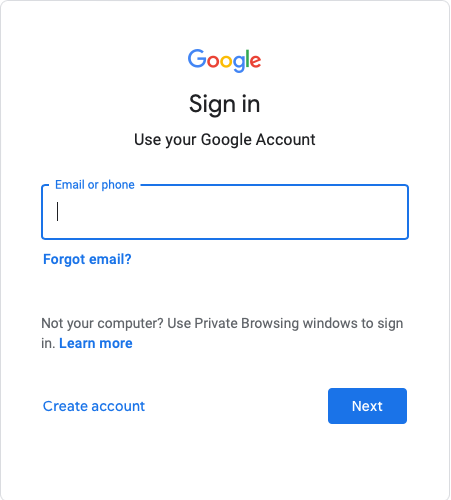
You'll get this 404 error if you're logged in to an account (ex. personal Gmail) that's not part of the Organization you've chosen.

While it will require you to login into an authorized email account when there's no account signed in thus make sure you double-check the account signed in your browser.
Set Up A Custom Domain
- Go to Settings.
- Click Custom domains.
- Click Start setup.
- Select the option below and follow the additional steps.
Note: You can connect up to five custom domains to one site. It may take up to 48 hours for changes to your domain to become visible on the Internet.
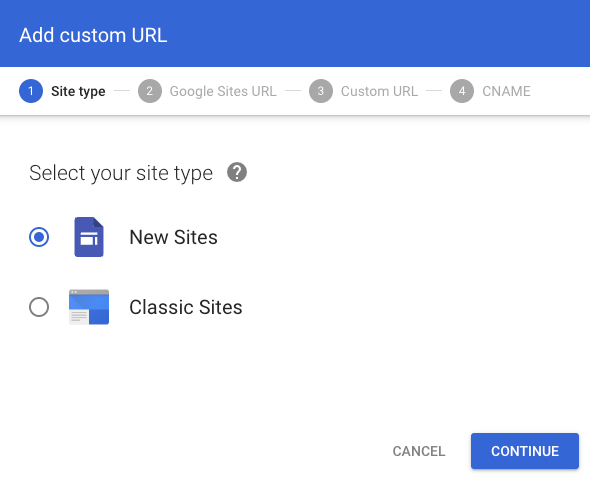
When you're logged in to your Google Workspace admin console you can follow the below guideline to set up a custom URL.
Apps->Google Workspace->Settings for Sites->Custom URL
You'll need to add a custom URL and choose New sites

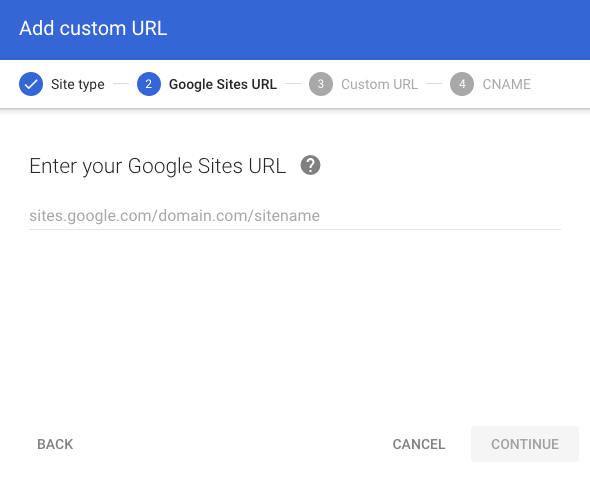
Enter the Google Site URL that you're working on and the custom URL that you want to use.
Lastly, configure the custom domain by adding the defined CNAME on your DNS provider then you're good to go.

Phase 5: Workflow
Also, please take note that there are lots of plugins that can be integrated into your Google site depending on your requirements. Feel free to play around, be more creative and enjoy.
View Comments