This is the second part of the series, you can also check the Part 1: Rewrite Facebook Tutorial using Babel 6, ES6 and Webpack

Facebook have a very good tutorial on how to use React.js to build a comment system which you can post comment to the server, live update the comment list and retrieve comments from server using Ajax.
In part 1, we have already rewritten the sample using ES6, compiled use Babel and Webpack, and then in this part we will pre-render the content in a Ruby on Rails app, and add caching to speed up the performance.
One big advantage of using React.js is that it is easy to render on server side, which is one of reasons companies are staying away from awesome Single Page Application (SAP) frontend frameworks like Angular.
Angular and others encourage you to do disgusting things like render your page with PhantomJS and serve that to search engine crawlers based on user agent, or pay actual cash money for that as a service.
Server rendering using Node.js
If your backend server is running on Node.js, lucky on you, it is ready easy to setup server rendering on Node.js, not only write little code, but also you still can keep the goodness of ES6, Webpack etc.
Check how to do server rendering using Redux
Server rendering using Ruby on Rails
Doing server rendering on Ruby on Rails is much more harder, due to the way of handling Javascript on Rails is still "Tourist style"

There are gems like react-rails which enables you to render your React code using Rails, but it still using the code way: Gemified Javascript, Globals on window.
What if you already have some client side code wrote using Webpack, ES6, npm modules, I am sure you won't want to give up your "1st Class Citizens of Javascript".
react_on_rails for the rescue
We found another gem solve our need, and we tried to use that for our SEO page rendered using React.js, the result is awesome.
Prerequisites
Check out the source code from Part 1 in Github and make sure you are able to run it successfully.
Getting Started
Part 1: Integrate with Ruby on Rails using react_on_rails gem
Create a new rails app and move react code to client folder
$ rails new rails-app
$ cd rails-app
and move the code from part 1 to client folder in the new project.
Client side changes
Now go to client folder and make necessary changes
cd client
Add client/clientGlobal.js
import CommentBox from './CommentBox';
window.CommentBox = CommentBox;
This file will be the new client side entry point for rails instead of original App.js. You might be noticing that we only expose React components to window, instead of use react-dom to render directly. We will render the exposed component in Rails view later.
Install expose-loader
$ npm install expose-loader --save-dev
Add expose to client/webpack.config.js
  module: {
    loaders: [
      { test: /\.jsx?$/, loader: 'babel', exclude: /node_modules/ },
      { test: require.resolve('react'), loader: 'expose?React' },
      { test: require.resolve('react-dom'), loader: 'expose?ReactDOM' },
      { test: require.resolve('react-dom/server'), loader: 'expose?ReactDOMServer' },
    ],
  },
These setup make sure that React, ReactDOM, ReactDOMServer are available globally.
Add client/webpack.client.rails.config.js
const config = require('./webpack.config');
const webpack = require('webpack');

config.entry = ['./clientGlobal.js', 'react-dom', 'react'];

config.output = {
  path: '../app/assets/javascripts/generated',
  filename: 'client-bundle.js',
};

config.plugins = [
  new webpack.optimize.DedupePlugin()
];

module.exports = config;
This new webpack config file extends original webpack.config.js, with some overrides. We will use this config file to integrate with Rails
Add a new script to package.json
"scripts": {
  "eslint": "./node_modules/.bin/eslint .; exit 0",
  "start": "./node_modules/.bin/webpack-dev-server",
  "build:client": "NODE_ENV=production ./node_modules/.bin/webpack --config webpack.client.rails.config.js"
},
After adding the script, run this command in terminal:
npm run build:client
It will create a folder app/assets/javascript/generated and create bundle file client-bundle.js there.
Rails side changes
Add react_on_rails to the end of Gemfile
gem 'react_on_rails'
run bundle install to install the gem
Add ruby_on_rails.rb to config/initializers.
This file can be found in the gem documentation. You will use this file to change any default configurations. For example if you want to using server rendering by default, you can change config.prerender to true
ReactOnRails.configure do |config|
  config.server_bundle_js_file = "app/assets/javascripts/generated/server-bundle.js"
  config.server_renderer_pool_size = 1
  config.server_renderer_timeout = 20
  config.development_mode = Rails.env.development?
  config.replay_console = true
  config.logging_on_server = true
  config.prerender = false
  config.generator_function = false
  config.trace = Rails.env.development?
end
Modify app/assets/javascripts/application.js
//= require react_on_rails
//= require generated/client-bundle
//= require turbolinks
It includes both react_on_rails js and generated client-bundle.js into application.js using asset pipeline.
Now it is time to prepare the data on server side
rails generate controller comments index
Modify config/routes.rb
Rails.application.routes.draw do
  get 'comments', to: 'comments#index'
  root 'comments#index'
end
Modify app/controllers/comments_controller.rb
class CommentsController < ApplicationController
  def index
    @comments = [
      {
        id: 1388534400000,
        author: 'Pete Hunt',
        text: 'Hey there!',
      },
      {
        id: 1420070400000,
        author: 'Paul O’Shannessy',
        text: 'React is *great*!',
      },
    ]
  end
end
Modify app/views/comments/index.html.erb
<%= react_component("CommentBox", { data: @comments }) %>
Start the server
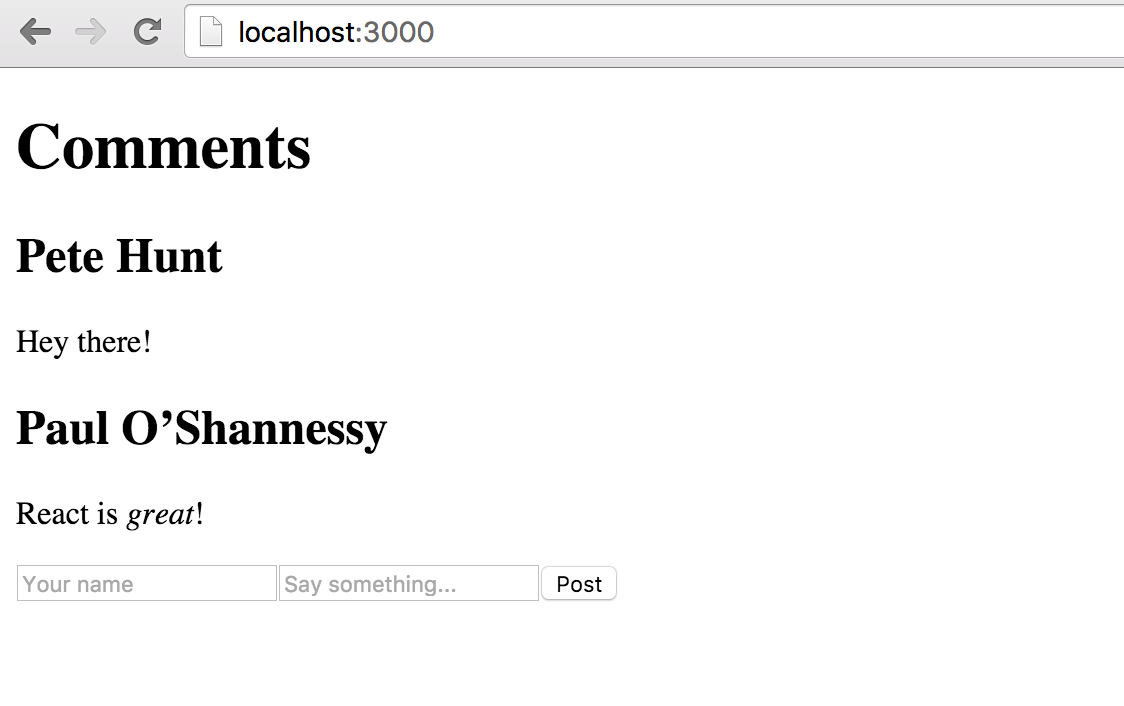
rails server
You should see exactly same results in localhost:3000
If you check the source code now, you can see the code generated by react_on_rails

Part 2: Config for server rendering
Client side change
cd client
Add client/serverGlobal.js
import CommentBox from './CommentBox';
global.CommentBox = CommentBox;
Add client/webpack.server.rails.config.js
const config = require('./webpack.config');
const webpack = require('webpack');

config.entry = ['./serverGlobal.js', 'react-dom/server', 'react'];

config.output = {
  path: '../app/assets/javascripts/generated',
  filename: 'server-bundle.js',
};

config.plugins = [
  new webpack.optimize.DedupePlugin()
];

module.exports = config;
Add a new script to package.json
"build:server": "NODE_ENV=production ./node_modules/.bin/webpack --config webpack.server.rails.config.js"
and run this
npm run build:server
It will create bundle file server-bundle.js in app/assets/javascript/generated folder.
Rails side change
Change app/views/comments/index.html.erb
<%= react_component("CommentBox", { data: @comments }, prerender: true) %>
Now restart the server and refresh the page
You should see exactly same page, but rendered on server side, check the page source, it is no longer an empty block.

Part 3: Adding cache to speed up performance
Although server rendering is awesome, but running JS on a Rails server sometimes is slow and resource consuming. We can speed up the performance by adding some cache.
Change app/views/comments/index.html.erb
<% cache do %>
  <%= react_component("CommentBox", { data: @comments }, prerender: true) %>
<% end %>
Add the line in application.rb
config.cache_store = :memory_store
In real life you might want to use gem like
dalliandmemcached
Summary
This is a very simple demo to show how to perform server rendering using Ruby on Rails, for a more complicated example, you can check react-webpack-rails-tutorial and react_on_rails documentation
You can check the full source codes in Github.
Part 1: Rewrite Facebook Tutorial using Babel 6, ES6 and Webpack
View Comments